
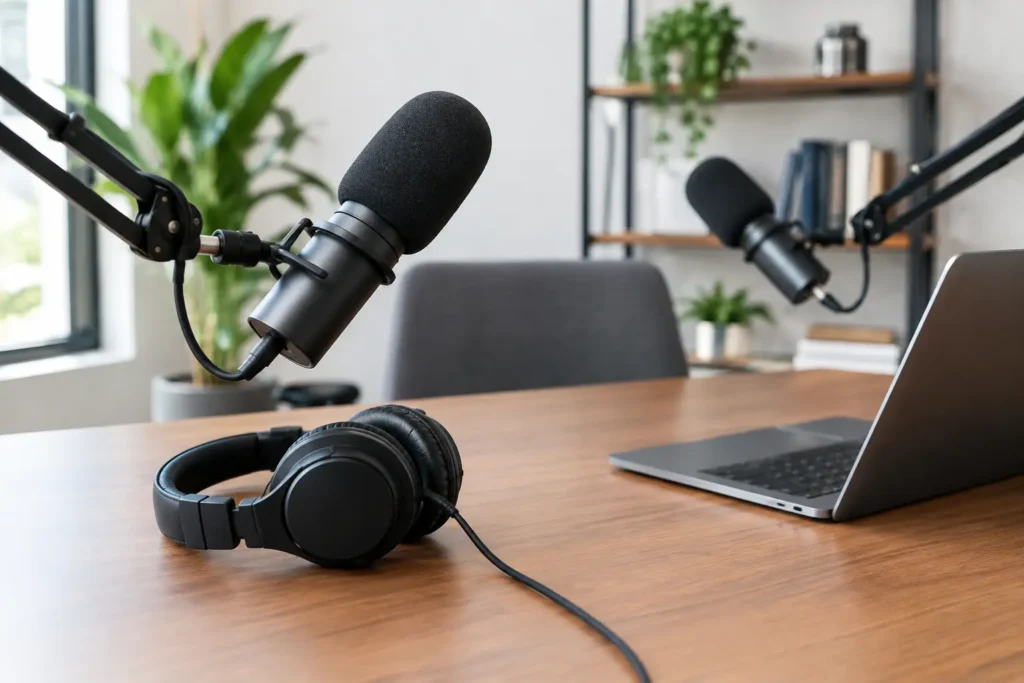
A listener may forgive a small stumble in your introduction. They are far less likely to forgive a show that sounds like it was recorded inside a metal filing cabinet. For small businesses, podcast equipment is not about building a high-end studio for its own sake. It is about making your expertise easy to hear, trust, and share.
A well-produced podcast can give your business a more human voice. It can turn common customer questions into useful content, create clips for social media, support your website’s content strategy, and give prospective customers a reason to spend more time with your brand. The right setup helps you do all of that without creating a technical project your team avoids every week.
Start With Your Podcast’s Real Job
Before shopping for microphones, decide what the podcast needs to accomplish. A local service business may use short episodes to explain services, share seasonal advice, and introduce its team. A consultant may record longer interviews that build credibility with a specific professional audience. An eCommerce brand may use video conversations to tell customer stories and create material for social channels.
Those goals affect your equipment choices. A solo, audio-first show can be recorded with a simple USB microphone and a quiet room. A two-person interview show needs enough inputs for multiple microphones. If video clips are central to your marketing plan, lighting, camera placement, and a clean background matter just as much as the audio setup.
The best purchase is not always the most expensive one. It is the equipment your team can set up quickly, use consistently, and maintain as the show grows.
Podcast Equipment That Matters Most
Many new podcasters start with a long shopping list. That approach can drain the budget before the first episode is recorded. Focus first on the pieces that most directly improve the audience experience: a microphone, headphones, recording method, and recording environment.
Choose the microphone for your room
A microphone is usually the most noticeable upgrade you can make. For many small-business owners, a dynamic microphone is a practical choice because it focuses on the speaker’s voice and tends to pick up less of the room. That can be helpful in an office with air conditioning, computer noise, hard floors, or nearby activity.
USB microphones connect directly to a computer and are often the easiest way to begin. They are a good fit for one-person recordings, remote guest interviews, and teams that need simplicity. XLR microphones require an audio interface or mixer, but they offer more flexibility for multi-person recordings and can make sense as your production needs become more involved.
Do not assume a condenser microphone is automatically better. Condenser microphones can capture a detailed, polished sound in a treated studio, but they may also capture every keyboard tap, traffic sound, and office echo. In a typical small-business workspace, a well-positioned dynamic microphone may produce the more useful result.
Use headphones while recording
Closed-back headphones help you hear problems before they become editing headaches. You may notice that a guest is too quiet, a microphone cable is loose, or your computer fan is suddenly louder than usual. They are especially valuable when recording remote interviews or episodes with multiple people in the room.
You do not need luxury headphones to begin. Look for a comfortable pair that lets you monitor your recording clearly without sound leaking back into the microphone. Comfort matters more than many people expect. If your host is distracted by uncomfortable gear, it can affect the energy of the conversation.
Get the microphone off the desk
A basic boom arm or desktop stand can improve your sound more than another software subscription. It keeps the microphone close to the speaker’s mouth and reduces the need to raise recording levels. Add a pop filter or foam windscreen to soften harsh sounds from words beginning with P and B.
Positioning is part of the equipment strategy. Keep the microphone roughly a hand’s width from your mouth, speak slightly past it instead of directly into it, and stay consistent throughout the recording. Good technique makes budget equipment sound better.
Your Room Is Part of the Setup
An untreated conference room with glass walls and bare floors can make a premium microphone sound distant and hollow. Before investing heavily in gear, listen to the room where you plan to record.
Soft materials help absorb reflections. Rugs, curtains, upholstered furniture, and even a full bookshelf can reduce the sharp echo common in offices. You do not need to cover every wall with acoustic panels. Start by choosing the quietest available space and controlling the obvious sources of noise.
Turn off notifications, silence phones, close doors, and pause noisy appliances when possible. If your business is in a busy area, recording at a quieter time of day may be more effective than trying to fix traffic noise in editing. These small decisions protect both production quality and your team’s time.
Audio Interfaces, Mixers, and Recorders
An audio interface converts microphone signals into a format your computer can record. If you use XLR microphones, need more than one microphone, or want greater control over levels, an interface is often the next logical purchase. A compact mixer can provide similar benefits and may include features for phone calls, sound pads, or live streaming.
For a two-host show, make sure the device has at least two microphone inputs. Avoid relying on one microphone placed between two speakers. Each host should have their own microphone so both voices remain clear and balanced.
Portable recorders are useful for businesses that record on location, such as at events, customer sites, or trade shows. They can also serve as a backup recording option in a studio setup. That backup matters. A strong conversation is difficult to recreate if a computer crashes or a recording app fails.
Still, more controls are not always better. A complicated mixer can slow down a team that records only once or twice a month. If no one is comfortable operating it, choose a simpler interface and put the effort into planning strong episodes.
Add Video Only When It Supports Your Strategy
Video podcasts create opportunities for YouTube, social media clips, website pages, and paid campaigns. They also require more coordination. Viewers notice poor lighting, cluttered backgrounds, and off-center framing quickly.
A modern smartphone or a dependable webcam can be enough to start. Place the camera at eye level, face a window or soft light source, and avoid putting bright light directly behind the speaker. If video becomes a consistent part of your marketing, add a dedicated camera and simple LED lighting later.
The key question is whether your team has a plan for the footage. Recording video just because other podcasts do it can create storage, editing, and approval work with little business value. Recording video with a clear repurposing plan is different. One conversation can become a full episode, short social clips, quote graphics, email content, and a helpful website article.
Build a Setup Your Team Can Repeat
A reliable workflow matters as much as the individual pieces of podcast equipment. Keep your setup in one place when possible. Label cables, save recording presets, and create a short checklist for every session. Your checklist might cover microphone placement, headphones, recording levels, backup recording, guest introductions, and file naming.
Consistency also makes editing more efficient. When every episode is recorded with similar levels, camera angles, and room conditions, your editor spends less time fixing preventable issues. That gives your business more room to focus on stronger questions, better stories, and useful calls to action.
For remote guests, send simple instructions before the interview. Ask them to use headphones, join from a quiet space, and silence notifications. They do not need a full studio, but preparation protects the conversation from avoidable distractions.
Buy in Stages, Not All at Once
A practical starter setup may include a USB dynamic microphone, headphones, a boom arm, a pop filter, and a quiet recording area. That is enough for many solo shows and remote interviews. As your show proves its value, you can add an interface, second microphone, lighting, cameras, or acoustic improvements based on real needs.
This staged approach is especially helpful for small businesses watching cash flow. It gives your team time to learn what format works, what episodes attract engagement, and where production actually slows down. Spend next on the bottleneck you can see, not on equipment that looks impressive on a desk.
Your podcast does not need to sound like a national broadcast on episode one. It needs to sound clear, intentional, and useful to the customers you want to serve. With a thoughtful setup and a repeatable process, your voice can become one more dependable part of your digital presence.